Now IS THe Time To...

Crawl Space Services In Knoxville, TN
Stetson Howard: 865-432-6743
CRAWL SPACE ENCAPSULATION, REPAIR, WATERPROOFING & MOLD REMOVAL
No-Obligation, Free Inspections
No-Obligation Free Estimates
We Warranty All of Our Work
100% Satisfaction Guaranteed
Installing a vapor barrier in a crawl space is a critical step in controlling moisture and protecting your home. To ensure a successful installation, it's essential to follow best practices and guidelines. In this blog, we will explore the step-by-step process of installing a vapor barrier in a crawl space, highlighting the key considerations, materials needed, and expert tips to help you achieve an effective moisture control solution for your home. By understanding and implementing these best practices, you can create a healthier living environment and safeguard your crawl space from potential moisture-related issues.
Assessing the Crawl Space
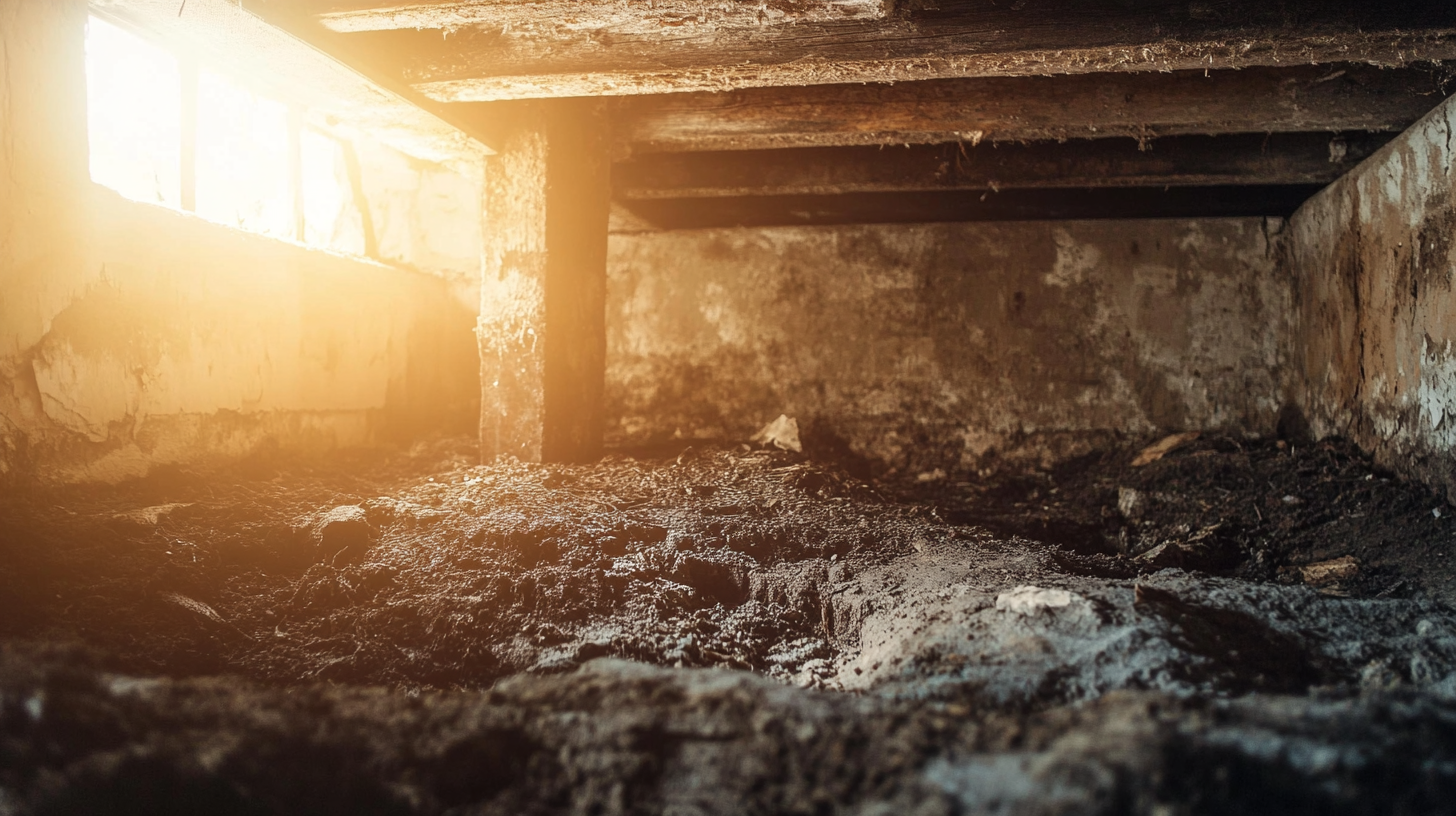
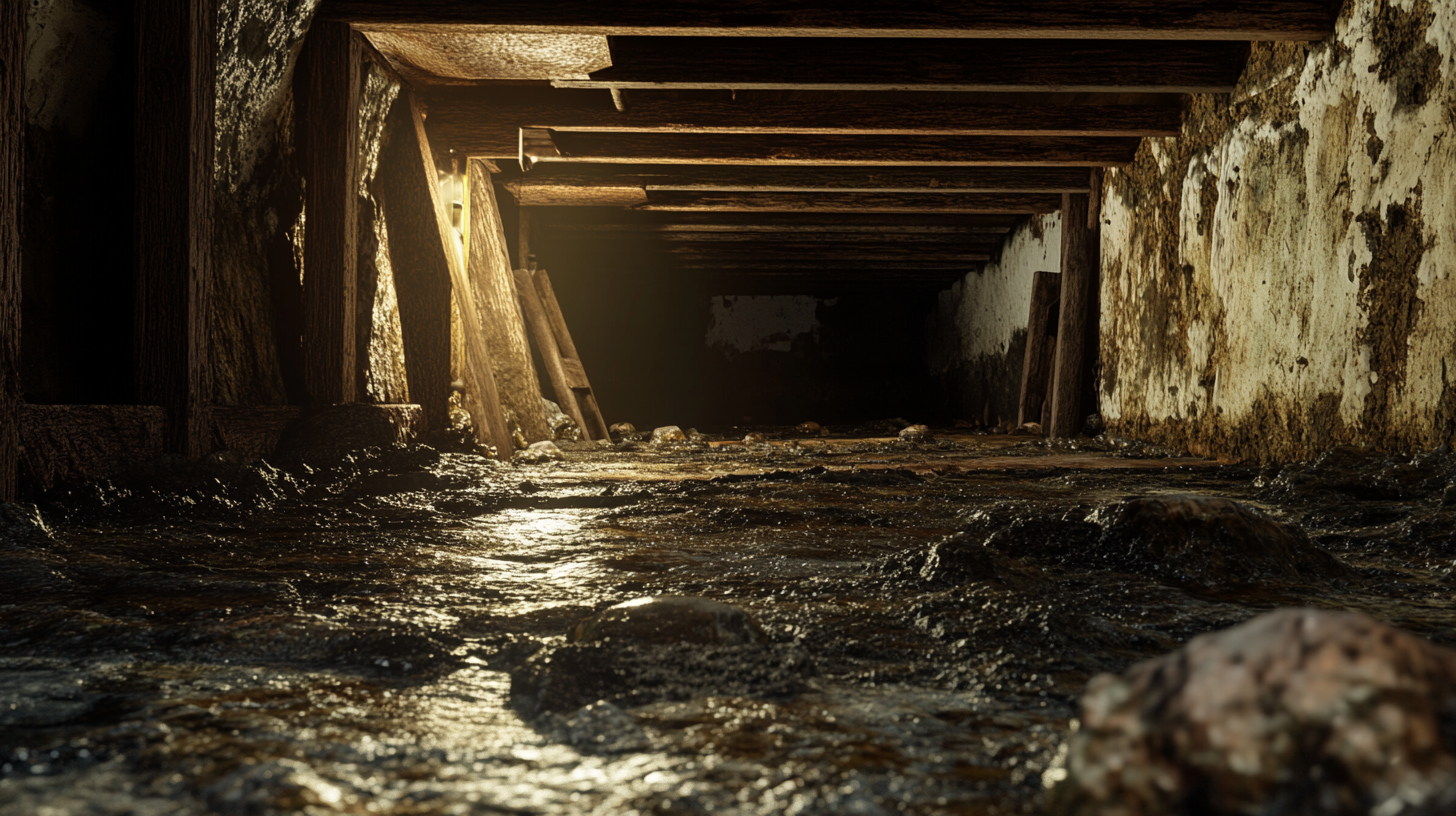
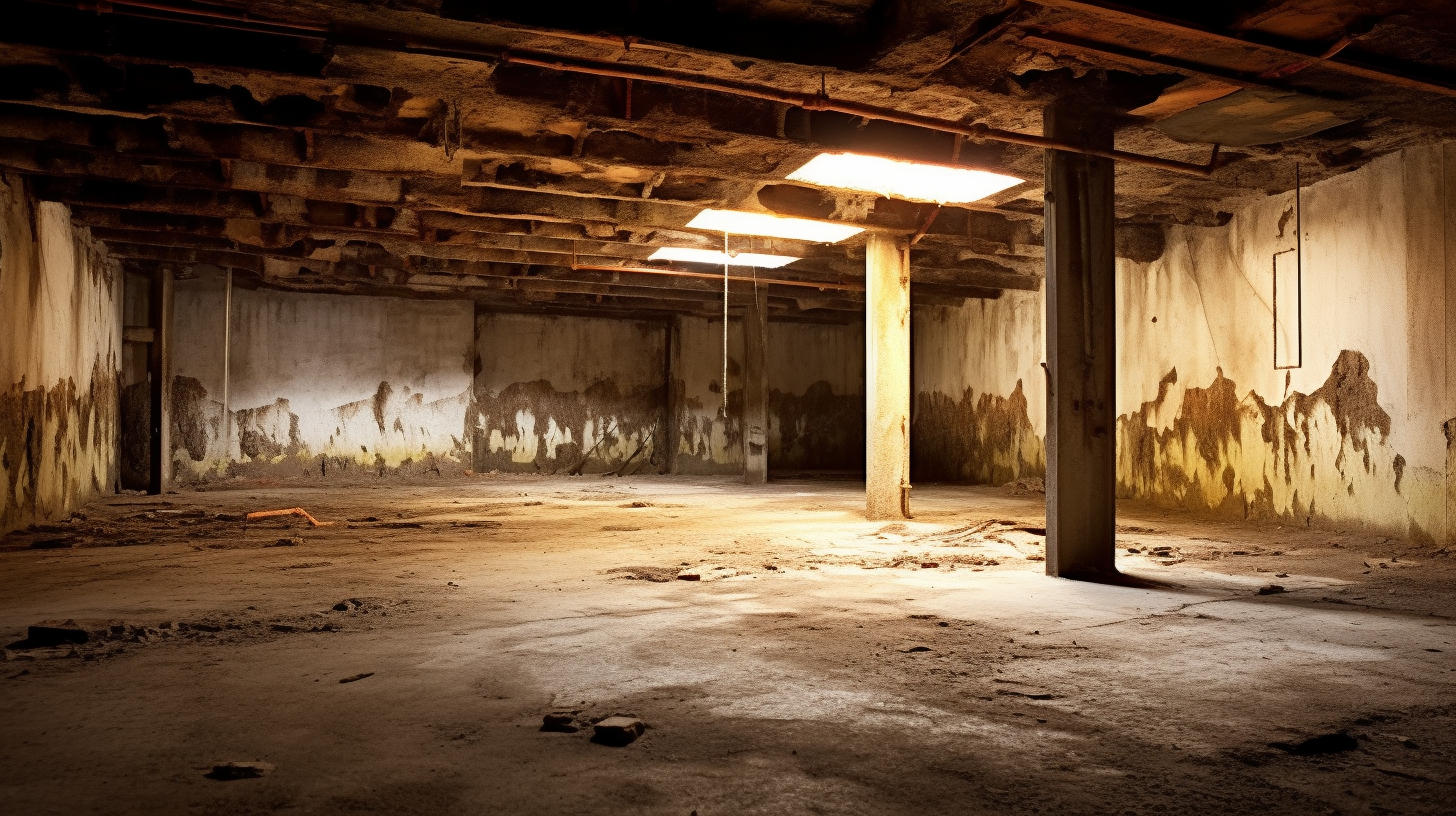
Assessing the crawl space is a crucial first step before installing a vapor barrier. This evaluation helps determine the condition of the crawl space, identify any existing issues, and understand the specific needs for moisture control. Begin by inspecting the crawl space for signs of moisture, such as water stains, condensation, or musty odors. Look for any visible damage to the structure, plumbing leaks, or pest infestations. Assessing the ventilation and airflow in the crawl space is also important to ensure proper air circulation. By conducting a thorough assessment, you can gain a clear understanding of the crawl space conditions and make informed decisions regarding the installation of a vapor barrier.
Once the assessment is complete, address any underlying issues in the crawl space. This may involve repairing plumbing leaks, improving drainage, or addressing pest infestations. Ensuring that the crawl space is free from excess moisture and any structural issues will create a solid foundation for the vapor barrier installation. Additionally, consider the specific needs of your crawl space, such as its size, layout, and potential obstacles, as this will help determine the quantity of materials and the most suitable installation method. By taking the time to assess the crawl space and address any pre-existing issues, you can ensure a more effective and successful installation of the vapor barrier.
Ensuring a Secure and Effective Vapor Barrier Installation
Ensuring a secure and effective vapor barrier installation in your crawl space is essential for optimal moisture control and protection. Start by preparing the crawl space properly before installation. Thoroughly clean the area, removing any debris or obstructions that may hinder the barrier's effectiveness. Address any existing moisture sources or issues, such as leaks or standing water, to create a dry and suitable environment for the vapor barrier.
Next, choose high-quality vapor barrier materials that are appropriate for your crawl space. Ensure the barrier is made of durable and puncture-resistant material that can withstand the conditions in the crawl space. Properly measure and cut the vapor barrier to fit the dimensions of the crawl space, allowing for some overlap along the seams. Secure the barrier tightly, ensuring there are no gaps or openings where moisture can seep through. Use appropriate sealing materials, such as high-quality tape or caulk, to seal the seams and edges of the barrier.
In conclusion, a secure and effective vapor barrier installation is crucial for controlling moisture in your crawl space. By properly preparing the area, choosing quality materials, and ensuring tight sealing, you can create a barrier that effectively prevents moisture intrusion. Following these best practices will help safeguard your crawl space, protect your home from potential issues, and promote a healthier living environment.
Best Practices for Long-Term Performance and Durability
To ensure the long-term performance and durability of your vapor barrier in the crawl space, it's important to follow best practices throughout the installation process. First, make sure to properly secure the vapor barrier. Use appropriate fasteners, such as screws or nails, to secure the barrier to the crawl space walls or floor. Ensure that the fasteners are properly spaced and securely attached to prevent sagging or shifting over time.
Regular maintenance is also key to maintaining the performance and durability of the vapor barrier. Conduct periodic inspections to check for any signs of damage, such as punctures, tears, or gaps in the barrier. If any issues are identified, promptly repair or replace the affected areas to maintain the barrier's integrity. Additionally, address any moisture sources or potential issues in the crawl space, such as plumbing leaks or inadequate ventilation, to prevent excess moisture buildup that could compromise the barrier's effectiveness.
By following these best practices and conducting regular maintenance, you can ensure that your vapor barrier remains in optimal condition, providing long-lasting moisture control and protection for your crawl space. This proactive approach will help safeguard your home from potential issues, maintain a healthier living environment, and ensure the durability and effectiveness of the vapor barrier in the long run.
FAQs
-
Can I install a vapor barrier in my crawl space myself, or should I hire a professional?
While it is possible to install a vapor barrier in a crawl space as a DIY project, it is recommended to hire a professional for optimal results. Professionals have the expertise and knowledge to assess your specific crawl space conditions, recommend the appropriate materials and installation methods, and ensure a proper and effective installation.
-
What materials do I need to install a vapor barrier in a crawl space?
To install a vapor barrier in a crawl space, you will typically need a high-quality vapor barrier material, such as a thick plastic or foil barrier, appropriate sealing materials like tape or caulk, fasteners for securing the barrier, and tools such as scissors or a utility knife for cutting the barrier to size.
-
How do I prepare the crawl space before installing the vapor barrier?
Preparing the crawl space involves cleaning the area and removing any debris, obstructions, or existing moisture sources. It may also involve addressing any underlying issues such as plumbing leaks or pest infestations to create a suitable environment for the vapor barrier.
-
How do I ensure a tight and effective seal when installing the vapor barrier?
To ensure a tight seal, it is crucial to properly overlap and seal the seams and edges of the vapor barrier. High-quality sealing materials like tape or caulk should be used to create a continuous barrier, preventing moisture from penetrating through any gaps or openings.
-
What are the maintenance requirements for a vapor barrier in a crawl space?
Regular maintenance involves periodically inspecting the vapor barrier for any signs of damage or gaps and promptly addressing them. Additionally, ensuring proper ventilation and addressing any moisture sources or issues in the crawl space will help maintain the barrier's effectiveness in controlling moisture.
Recent Blog Posts
Crawl Space News


Schedule Your FREE Crawl Space Evaluation!
Did you know YOU DON'T HAVE TO BE HOME for us to provide you with your 100% FREE crawl space inspection and report?
Call Us Today at: 865-432-6743
Forever Guard Crawl Space Encapsulation and Repair of Knoxville is a specialty crawl space waterproofing company that services the greater Knoxville, TN and surrounding areas.
Business Hours
Sunday: 7:00 AM - 7:00 PM
Monday: 7:00 AM - 7:00 PM
Tuesday: 7:00 AM - 7:00 PM
Wednesday: 7:00 AM - 7:00 PM
Thursday: 7:00 AM - 7:00 PM
Friday: 7:00 AM - 7:00 PM
Saturday: 7:00 AM - 7:00 PM
legal info
All Rights Reserved | Forever Guard Crawl Space Encapsulation and Repair of Knoxville


