Now IS THe Time To...

Crawl Space Services In Knoxville, TN
Stetson Howard: 865-432-6743
CRAWL SPACE ENCAPSULATION, REPAIR, WATERPROOFING & MOLD REMOVAL
No-Obligation, Free Inspections
No-Obligation Free Estimates
We Warranty All of Our Work
100% Satisfaction Guaranteed
When it comes to ensuring a comfortable, energy-efficient home, your crawl space plays a pivotal role, and encapsulating it can make all the difference. In this comprehensive guide, we're diving into the world of "Encapsulation Crawl Space Do It Yourself." Whether you're a seasoned DIY enthusiast or just looking to take on a new project, this step-by-step guide will equip you with the knowledge and confidence needed to transform your crawl space into a clean, dry, and energy-efficient area that enhances the comfort and value of your home.
Essential Tools and Materials for DIY Crawl Space Encapsulation
Crawl space encapsulation is a valuable DIY project that can significantly enhance your home's energy efficiency and comfort. To get started, it's crucial to gather the essential tools and materials needed for a successful encapsulation project. First and foremost, you'll need safety gear such as gloves, a dust mask, and protective eyewear to ensure your well-being during the process. Additionally, essential tools include a utility knife, a tape measure, a caulking gun, and a staple gun to efficiently install the various materials that make up the encapsulation system.
Materials form the core of your crawl space encapsulation project, and these include vapor barriers, typically made of heavy-duty polyethylene, which serve as a moisture-resistant shield. You'll also need insulation material to keep the space thermally efficient and a high-quality adhesive or sealant to secure seams and edges. Proper mechanical ventilation is key, so a dehumidifier and exhaust fan are essential for maintaining ideal moisture levels. By ensuring you have the right tools and materials on hand, you'll be well-prepared to embark on your DIY crawl space encapsulation journey, leading to a more comfortable and energy-efficient home.
Prepping Your Crawl Space: What to Do Before Encapsulation
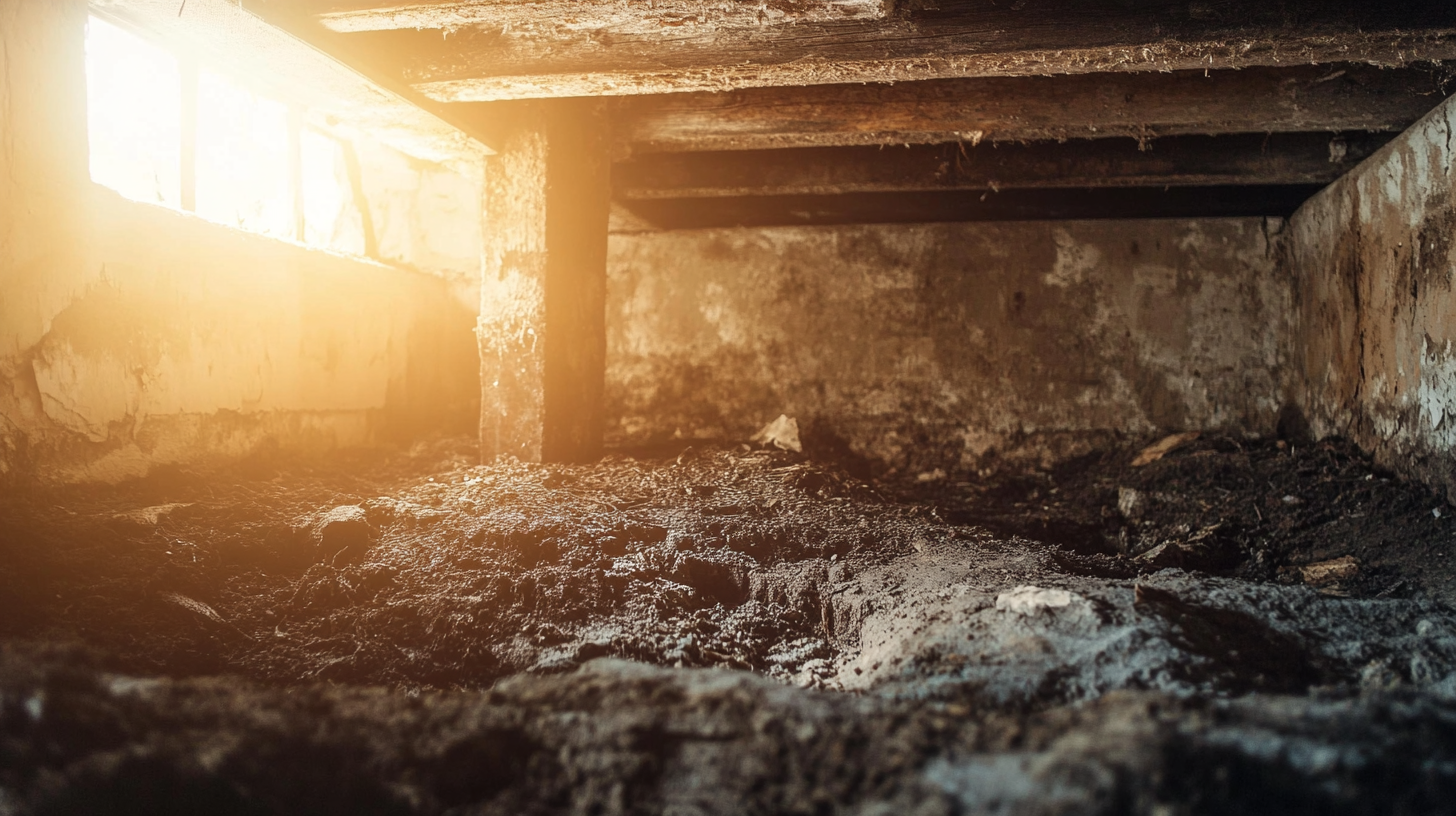
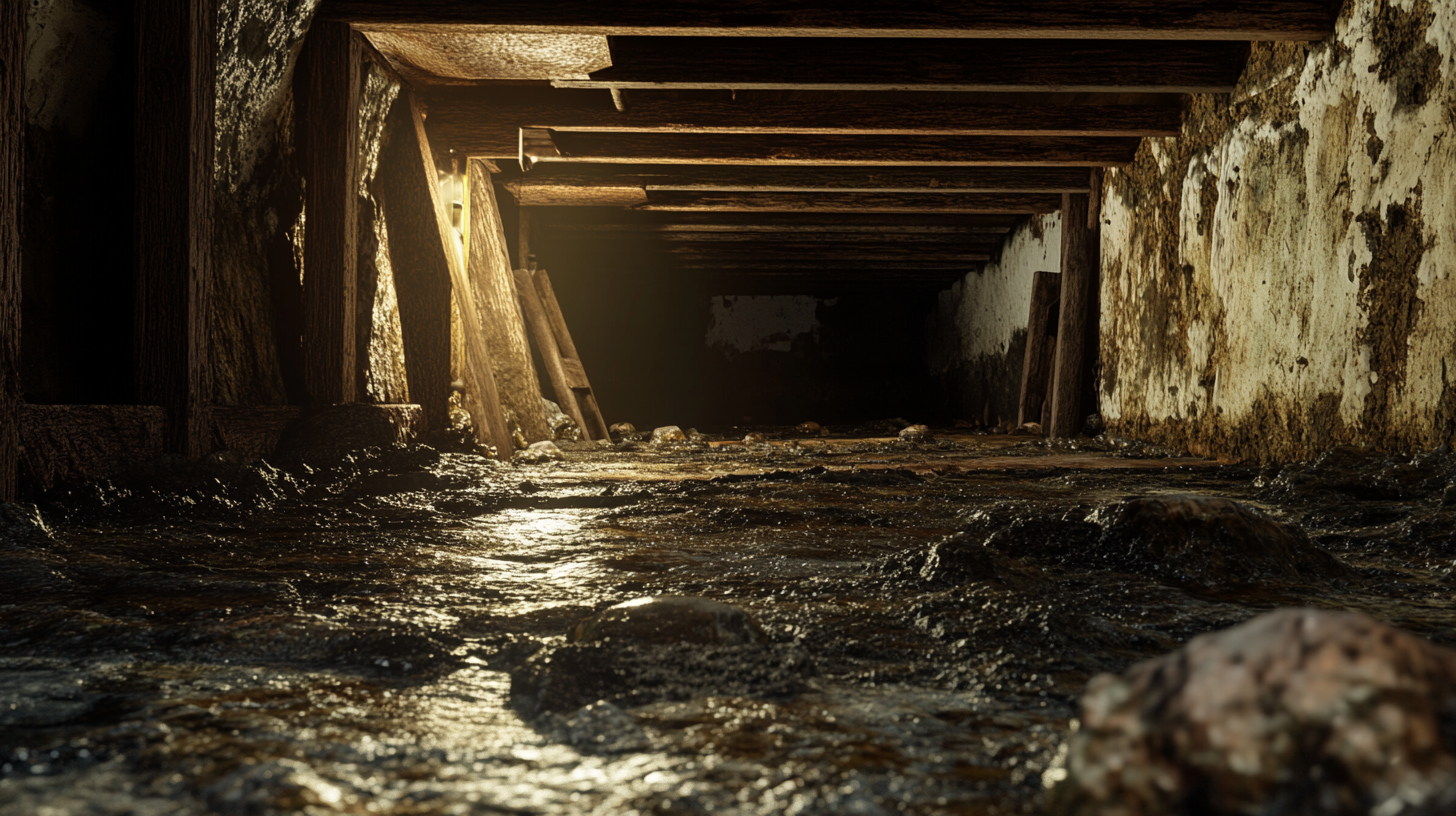
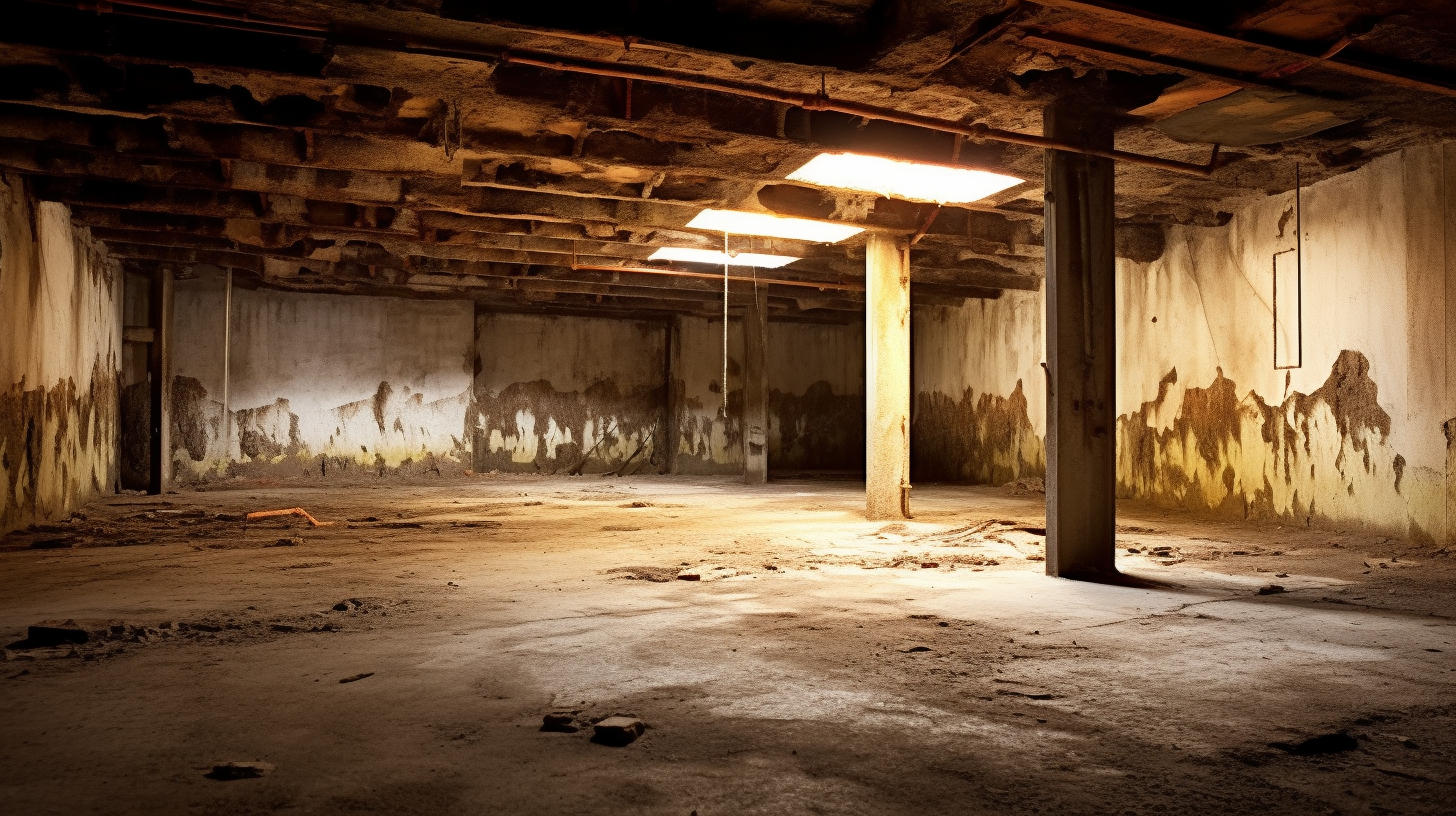
Before you jump into the exciting world of crawl space encapsulation, there are crucial prepping steps you should undertake to ensure a successful and efficient project. First and foremost, clean out your crawl space. Remove any debris, clutter, or items stored there to provide a clear workspace for the encapsulation process. Inspect the space for signs of water damage, leaks, or pest infestations, as these issues should be addressed and resolved before proceeding.
Next, ensure proper drainage around the foundation of your home. Make sure your gutters and downspouts are in good working condition to direct water away from the foundation. Adequate drainage is essential to prevent water from seeping into your crawl space and compromising the encapsulation's effectiveness. Finally, inspect the existing insulation, and replace or repair it as needed to ensure your crawl space is well-insulated before encapsulation. These prepping steps create a clean, dry, and suitable environment for the encapsulation process, ensuring its long-term success in making your home more energy-efficient and comfortable.
The Process: How to Properly Install the Vapor Barrier
Installing the vapor barrier is a crucial step in the crawl space encapsulation process. This barrier acts as the primary defense against moisture infiltration and helps maintain a dry and energy-efficient crawl space. The process begins by carefully unrolling and spreading the vapor barrier across the crawl space floor, ensuring it covers the entire surface. Overlapping seams and edges by at least 12 inches is essential to create a continuous moisture-resistant barrier. It's important to use high-quality adhesives or sealants to secure these overlaps, effectively sealing the barrier.
In addition to covering the floor, the vapor barrier should also extend up the walls of the crawl space. This ensures comprehensive protection against moisture from all directions. Use mechanical fasteners, such as furring strips or double-sided tape, to secure the barrier to the walls. Pay close attention to corners, support columns, and any obstacles in the crawl space, as these areas may require extra care and attention. By properly installing the vapor barrier, you create a robust moisture barrier that will play a significant role in enhancing the comfort and energy efficiency of your home.
FAQs
-
What is crawl space encapsulation, and why should I consider doing it myself?
This question covers the basic concept of crawl space encapsulation and highlights the benefits of taking on the project as a DIY endeavor.
-
What are the key steps involved in DIY crawl space encapsulation, and how long does it typically take to complete?
This question delves into the main phases of the encapsulation process and offers an estimate of the time required to finish the project.
-
What tools and materials are essential for a successful DIY crawl space encapsulation, and where can I find them?
This FAQ outlines the necessary tools and materials and provides guidance on where to source them.
-
Is crawl space encapsulation a cost-effective DIY project, and what are the potential cost savings compared to professional services?
Homeowners often inquire about the cost-effectiveness of a DIY approach and how it compares to hiring professionals.
-
Are there any common challenges or risks associated with DIY crawl space encapsulation, and how can I address them?
This question helps homeowners anticipate potential issues and offers advice on mitigating challenges during the DIY encapsulation process.
Recent Blog Posts
Crawl Space News


Schedule Your FREE Crawl Space Evaluation!
Did you know YOU DON'T HAVE TO BE HOME for us to provide you with your 100% FREE crawl space inspection and report?
Call Us Today at: 865-432-6743
Forever Guard Crawl Space Encapsulation and Repair of Knoxville is a specialty crawl space waterproofing company that services the greater Knoxville, TN and surrounding areas.
Business Hours
Sunday: 7:00 AM - 7:00 PM
Monday: 7:00 AM - 7:00 PM
Tuesday: 7:00 AM - 7:00 PM
Wednesday: 7:00 AM - 7:00 PM
Thursday: 7:00 AM - 7:00 PM
Friday: 7:00 AM - 7:00 PM
Saturday: 7:00 AM - 7:00 PM
legal info
All Rights Reserved | Forever Guard Crawl Space Encapsulation and Repair of Knoxville


