Now IS THe Time To...

Crawl Space Services In Knoxville, TN
Stetson Howard: 865-432-6743
CRAWL SPACE ENCAPSULATION, REPAIR, WATERPROOFING & MOLD REMOVAL
No-Obligation, Free Inspections
No-Obligation Free Estimates
We Warranty All of Our Work
100% Satisfaction Guaranteed
A building's foundation plays a crucial role in ensuring the stability and durability of the entire structure. It serves as the base upon which the weight of the building is distributed, preventing unequal settlement and providing a level platform for construction. The foundation's primary functions include supporting the load of the building, anchoring it against natural forces such as wind and earthquakes, and protecting the structure from ground moisture and potential shifts in the soil.
By transferring the building's load to the ground, the foundation helps maintain the structural integrity over time, minimizing the risk of cracks and other damage. It also acts as a barrier against soil moisture, which can cause deterioration of materials and compromise the building's safety. In essence, a well-designed foundation ensures that a building remains strong, safe, and functional throughout its lifespan.
Preparing for the Inspection
Tools and Materials Needed
To ensure a thorough and effective inspection, it is essential to gather the right tools and materials beforehand. The following items are indispensable:
- Flashlight: Essential for illuminating dark or hard-to-reach areas, a flashlight helps in identifying potential issues that might not be visible in normal lighting conditions.
- Measuring Tape: Useful for taking precise measurements of spaces, gaps, or damages. Accurate measurements are crucial for assessing the extent of any problems.
- Notepad and Pen: Important for jotting down observations, measurements, and any other pertinent details during the inspection. Keeping detailed notes aids in creating a comprehensive report.
- Camera or Smartphone for Documentation: Capturing photographic evidence of any defects or areas of concern is vital. Visual documentation supports written notes and provides a clear reference for future assessments or repairs.
Safety Precautions
Ensuring personal safety during an inspection is paramount. Adhering to the following safety guidelines will help prevent accidents and injuries:
- Wear Appropriate Clothing and Safety Gear: Suitable attire such as long sleeves, durable pants, and closed-toe shoes protect against minor injuries. Safety gear like gloves, helmets, and safety glasses should be worn when necessary to guard against specific hazards.
- Be Aware of Potential Hazards: Inspections can expose you to various dangers including sharp objects, insects, and unstable structures. Stay vigilant and move cautiously, especially in unfamiliar or cluttered areas.
By preparing adequately with the right tools and maintaining safety protocols, an inspection can be conducted efficiently and securely, ensuring all potential issues are identified and documented effectively.
Understanding Types of Cracks
Hairline Cracks
Characteristics and Causes: Hairline cracks are very thin, often less than 1mm in width. They typically appear on the surface of walls and floors and are often caused by minor settling of the building or changes in humidity and temperature. These cracks are usually not structurally significant but can indicate the early stages of a potential issue if they continue to grow.
When to Be Concerned: While hairline cracks are generally not a cause for immediate concern, they should be monitored over time. If they widen, lengthen, or appear in conjunction with other symptoms like moisture stains or uneven floors, it might indicate a more serious underlying problem that requires professional assessment.
Structural Cracks
Identifying Features (Width, Length, Direction): Structural cracks are wider and deeper than hairline cracks, often exceeding 3mm in width. They may extend across walls, ceilings, and floors and can run in various directions, including vertical, horizontal, or diagonal. The direction and pattern of the crack can provide clues about its cause.
Common Causes: These cracks are usually a result of significant issues such as foundation settlement, poor construction practices, or substantial shifts in the ground. They can also occur due to excessive loads or stresses on the building structure.
Expansion Cracks
Seasonal Expansion and Contraction Effects: Expansion cracks are caused by the natural expansion and contraction of building materials in response to temperature changes. These cracks often appear at points of stress such as around windows, doors, and other openings.
Recognizing Harmless Versus Problematic Cracks: Not all expansion cracks are problematic.
Harmless expansion cracks are typically uniform in width and do not extend significantly into the building's structure. Problematic cracks, on the other hand, may be irregular, wider, and indicative of underlying issues such as poor material quality or improper installation techniques. Regular inspection and maintenance can help distinguish between benign and concerning cracks, ensuring timely intervention if needed.
Conducting a Visual Inspection
Exterior Inspection
Checking the Perimeter of the Foundation: Begin by walking around the entire perimeter of the foundation. Look for any visible signs of cracks, bulges, or other irregularities in the foundation walls. Pay close attention to the areas where the foundation meets the ground, as well as any visible portions of the foundation itself.
Inspecting Corners and Junctions: Corners and junctions are particularly vulnerable to stress and often show early signs of structural issues. Carefully inspect these areas for cracks or signs of shifting. Note any separation between the foundation and the structure it supports.
Observing Any Changes in Landscaping That Could Affect the Foundation: Changes in landscaping, such as new plantings, removal of trees, or changes in drainage patterns, can significantly impact the foundation. Look for areas where water may be pooling near the foundation, or where tree roots might be growing close to or under the foundation, as these can lead to structural problems over time.
Interior Inspection
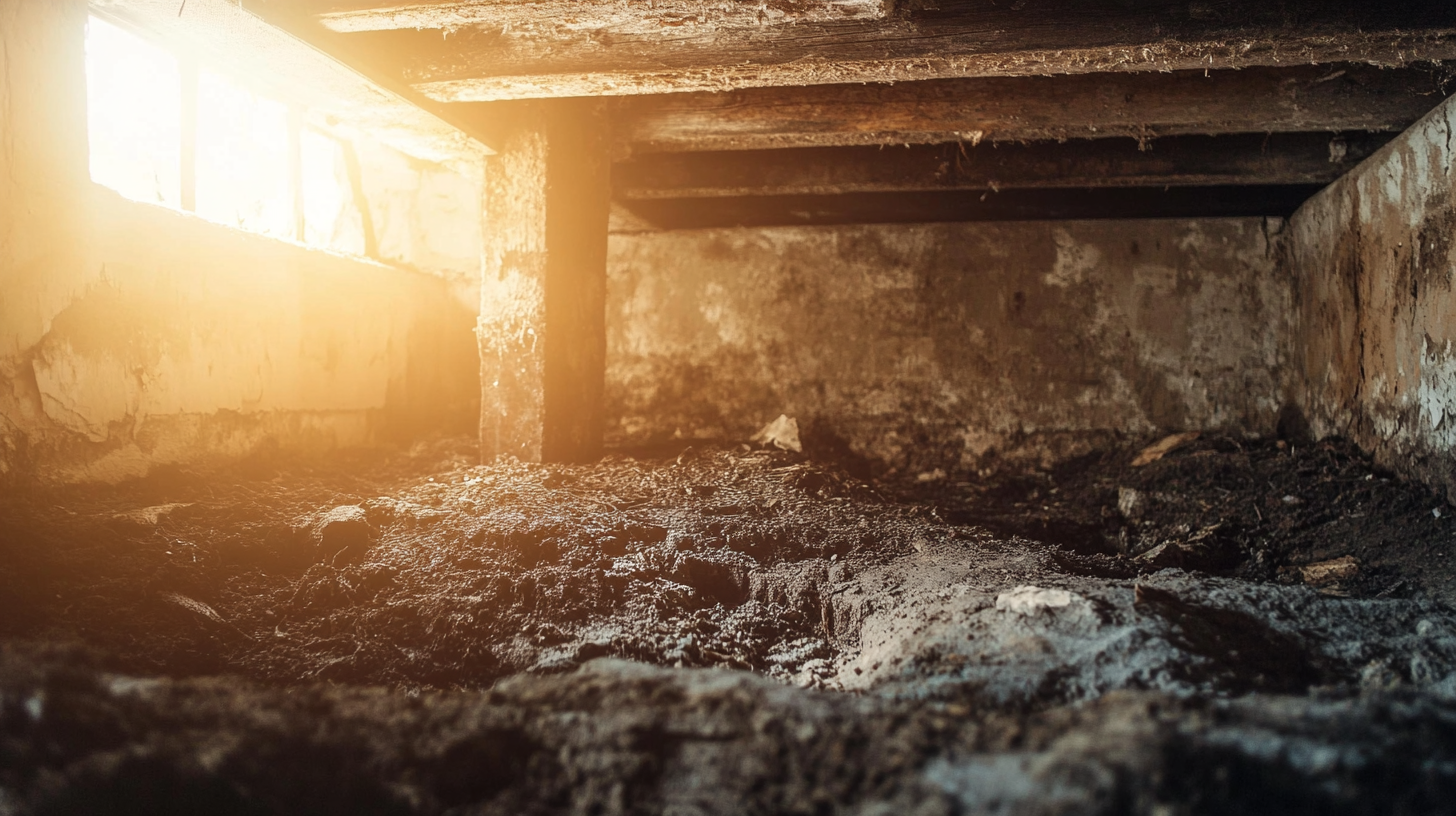
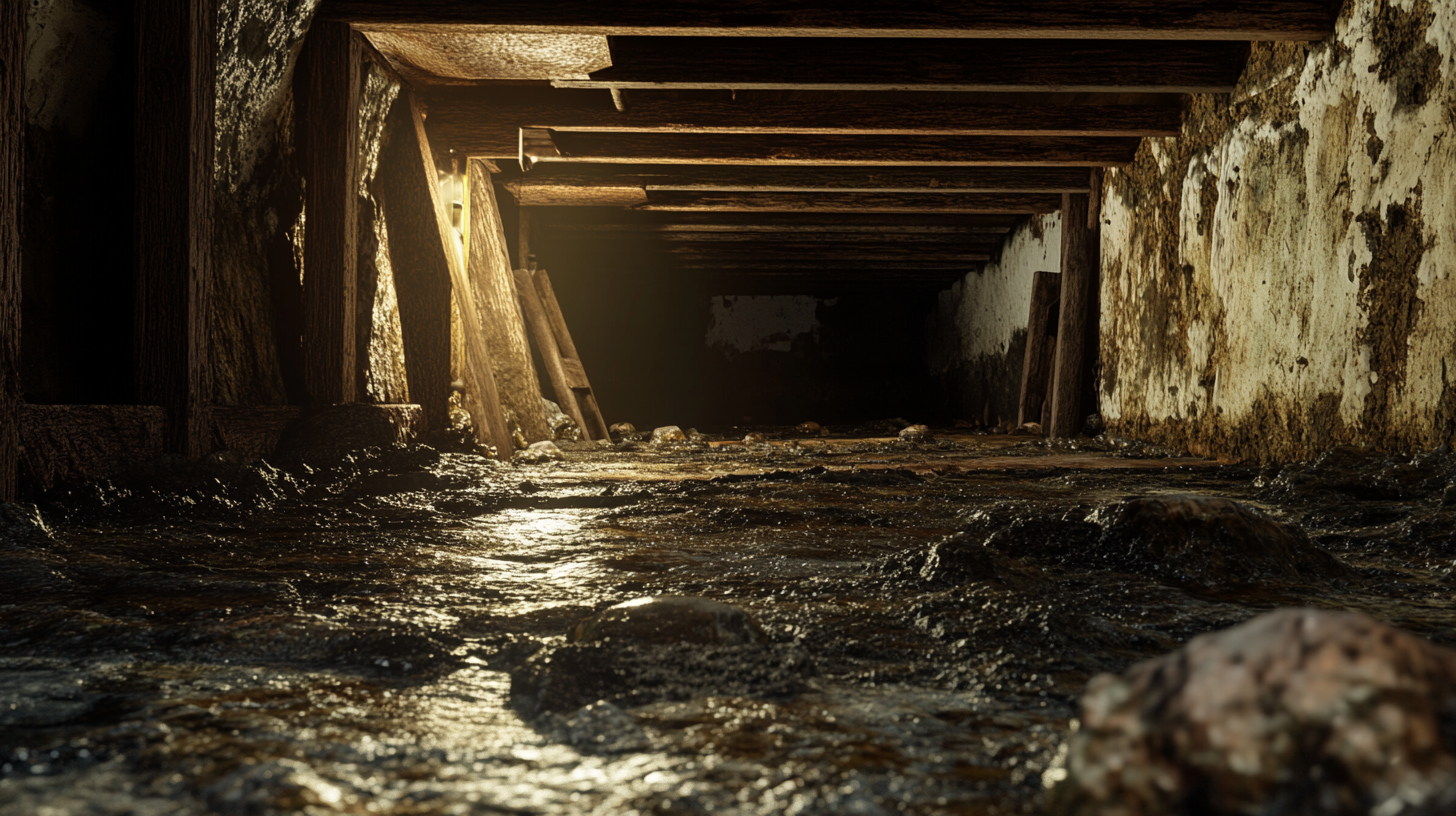
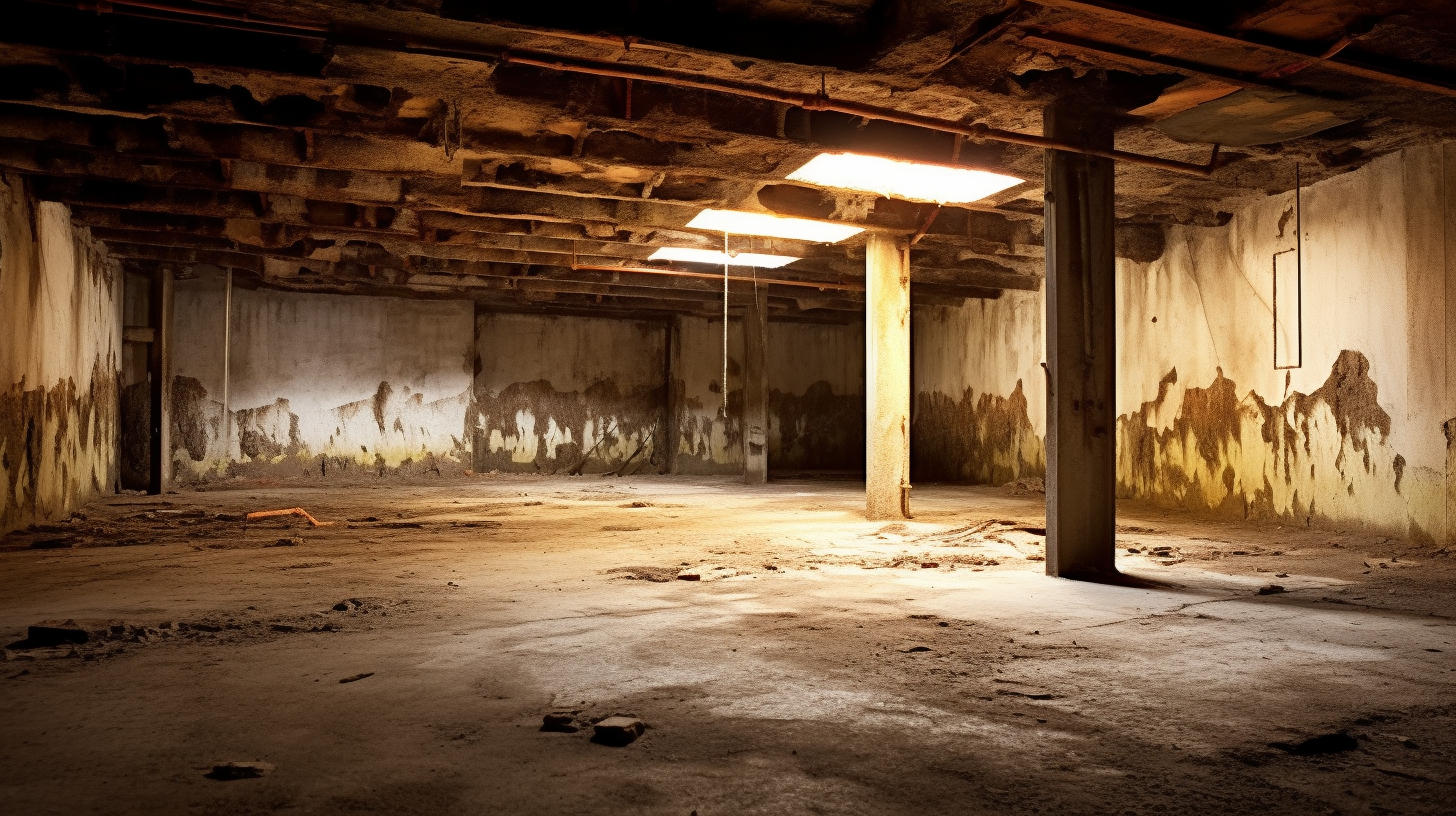
Examining Basement and Crawl Space Walls: Inside the basement or crawl space, examine the walls closely. Look for cracks, moisture stains, or signs of water infiltration. Use a flashlight to illuminate dark corners and hidden areas where problems might be developing. Pay special attention to the base of the walls where they meet the floor.
Inspecting Floors for Signs of Unevenness or Sloping: Walk across the floors and notice any areas that feel uneven or slope noticeably. Use a measuring tape or a level to check for significant differences in floor height, which could indicate settling or other foundation issues.
Checking Around Windows and Door Frames for Gaps or Misalignment: Windows and doors are often affected by foundation shifts. Inspect the frames for gaps or misalignment, which can indicate that the foundation has moved. Doors that stick or do not close properly, and windows that are difficult to open or close, can be signs of underlying foundation problems.
By conducting a thorough visual inspection of both the exterior and interior of your building, you can identify early signs of foundation issues and take steps to address them before they become more serious. Regular inspections are key to maintaining the structural integrity of your property.
Measuring and Documenting Cracks
Measuring Crack Width and Length
Tools for Accurate Measurement: To measure the width and length of cracks accurately, you will need a few essential tools. A ruler or a caliper can be used to measure the width, while a measuring tape is ideal for determining the length of the crack. For very fine cracks, a crack comparator can provide precise measurements. Ensure that these tools are in good condition and calibrated for accuracy.
Recording Data Systematically: Documenting the measurements systematically is crucial for tracking the progression of cracks over time. Use a notepad or a digital device to record the date, location, and dimensions of each crack. Create a consistent format for your entries to make future comparisons easier. Including sketches or diagrams showing the exact location of the cracks can also be helpful.
Photographing Cracks
Tips for Clear and Useful Photographs: Clear photographs are essential for documenting cracks. Use a high-resolution camera or a smartphone with a good camera. Ensure that the lighting is adequate, and avoid shadows that might obscure the crack. Place a ruler or a coin next to the crack to provide a sense of scale in the photo. Take multiple shots from different angles to capture the full extent of the crack.
Annotating Images with Relevant Details: When reviewing photographs, annotate them with relevant details. Include notes on the photograph itself or in accompanying documentation, such as the location, dimensions, and any changes since the last inspection. This can help in understanding the progression and potential causes of the cracks.
Analyzing Inspection Results
Comparing Data Over Time
Importance of Regular Inspections: Conducting regular inspections and comparing the data over time is crucial for identifying patterns and trends in the development of cracks. Regular inspections allow you to detect gradual changes that might indicate underlying structural issues.
Using Previous Records to Identify Patterns: By comparing current data with previous records, you can identify patterns such as seasonal variations, gradual widening, or the emergence of new cracks. This historical data is invaluable in diagnosing the root causes and determining whether cracks are a result of ongoing issues or isolated events.
Identifying Immediate Concerns
Signs That Indicate Urgent Repairs Are Needed: Certain signs indicate that immediate repairs are necessary. These include rapid widening or lengthening of cracks, cracks that are more than 3mm wide, or those associated with other symptoms such as doors and windows that no longer close properly, or visible structural shifts.
Differentiating Between Cosmetic and Structural Issues: It is important to distinguish between cosmetic cracks, which are typically superficial and do not affect the building's structural integrity, and structural cracks, which can indicate serious problems. Cosmetic cracks are usually fine and shallow, while structural cracks are deeper and often accompanied by other signs of distress in the building.
By following these guidelines for measuring, documenting, and analyzing cracks, you can effectively monitor the condition of your building's foundation and address issues before they become serious problems.
When to Call a Professional
Recognizing the Limits of DIY Inspection
Situations That Require Professional Expertise: While DIY inspections can help identify visible cracks and minor issues, certain situations necessitate the expertise of a professional. If you encounter wide or deep cracks, significant structural shifts, or signs of water infiltration, it is crucial to seek professional assistance. These issues often indicate deeper structural problems that require specialized knowledge and tools to address safely and effectively.
Understanding When to Seek Help: Knowing when to call a professional is key to maintaining the integrity of your building. If you notice persistent issues that worsen over time, such as expanding cracks, uneven floors, or doors and windows that no longer function properly, it is time to consult a professional. Additionally, if your inspection reveals signs of foundation settlement or poor construction practices, professional evaluation is necessary to prevent further damage.
Selecting a Qualified Professional
Credentials to Look For: When choosing a professional for your foundation inspection and repair needs, consider their credentials carefully. Look for licensed structural engineers or contractors with specialized training in foundation repair. Membership in professional organizations, such as the American Society of Civil Engineers (ASCE) or the Foundation Repair Association (FRA), can also indicate a high level of expertise and commitment to industry standards.
Questions to Ask Potential Contractors: To ensure you select a qualified professional, ask potential contractors several important questions:
- What is your experience with foundation inspections and repairs?
- Can you provide references from previous clients?
- Are you licensed and insured?
- What methods do you use for diagnosing and repairing foundation issues?
- Can you provide a detailed estimate and timeline for the work?
By thoroughly vetting professionals and understanding the limits of DIY inspections, you can ensure that your building receives the necessary care and expertise to maintain its structural integrity.
FAQs
-
What tools do I need?
Essential tools include a flashlight, measuring tape, notepad and pen, and a camera or smartphone for documentation.
-
How do I measure crack width?
Use a ruler or caliper to measure the width accurately, ensuring consistent and precise data collection.
-
Where should I inspect first?
Start with the exterior, checking the perimeter of the foundation, corners, and junctions before moving to the interior.
-
How often should I inspect?
Regular inspections, ideally annually, help in identifying patterns and addressing issues early to maintain structural integrity.
-
How to monitor repaired cracks?
Repaired cracks should be monitored regularly for signs of new movement or moisture penetration to ensure the repair remains effective.
Recent Blog Posts
Crawl Space News


Schedule Your FREE Crawl Space Evaluation!
Did you know YOU DON'T HAVE TO BE HOME for us to provide you with your 100% FREE crawl space inspection and report?
Call Us Today at: 865-432-6743
Forever Guard Crawl Space Encapsulation and Repair of Knoxville is a specialty crawl space waterproofing company that services the greater Knoxville, TN and surrounding areas.
Business Hours
Sunday: 7:00 AM - 7:00 PM
Monday: 7:00 AM - 7:00 PM
Tuesday: 7:00 AM - 7:00 PM
Wednesday: 7:00 AM - 7:00 PM
Thursday: 7:00 AM - 7:00 PM
Friday: 7:00 AM - 7:00 PM
Saturday: 7:00 AM - 7:00 PM
legal info
All Rights Reserved | Forever Guard Crawl Space Encapsulation and Repair of Knoxville


